
How to reinstall MySQL on Mac

October 26, 2023
Reinstalling MySQL on a Mac can be a relatively straightforward process. This guide is tailored for engineers who want to get the job done without the fluff.
Step 1: Backup Your Data
Before any significant software change, it's a good practice to backup your data.
mysqldump -u [username] -p --all-databases > backup.sql
Replace [username] with your MySQL username.
Step 2: Uninstall MySQL
a. Stop the MySQL Service
If MySQL is running, you'll want to stop it:
sudo mysql.server stop
b. Remove MySQL Packages
Remove the MySQL software:
sudo rm /usr/local/mysql
sudo rm -rf /usr/local/var/mysql
sudo rm -rf /usr/local/mysql*
c. Remove MySQL Preference Pane
If you've installed the MySQL Preference Pane, you should also remove it:
sudo rm -rf /Library/PreferencePanes/My*
d. Clean Up
Clean up any lingering items:
sudo rm -rf /Library/StartupItems/MySQLCOM
sudo rm -rf /Library/Receipts/mysql*
sudo rm -rf /Library/Receipts/MySQL*
sudo rm -rf /private/var/db/receipts/*mysql*
Step 3: Reinstall MySQL
a. Download MySQL
Visit the official MySQL website and download the version for macOS: MySQL Downloads
b. Install MySQL
Open the downloaded .dmg file and follow the installation instructions. Generally, it's a matter of dragging and dropping the MySQL icon into your Applications folder.
c. Set Up PATH (If Required)
To make sure you can run MySQL commands from the terminal without specifying the full path, add this to your .bash_profile, .bashrc, or .zshrc (depending on your shell):
export PATH=${PATH}:/usr/local/mysql/bin
Then, load your updated profile:
source ~/.bash_profile # or ~/.bashrc or ~/.zshrc
You could ship faster.
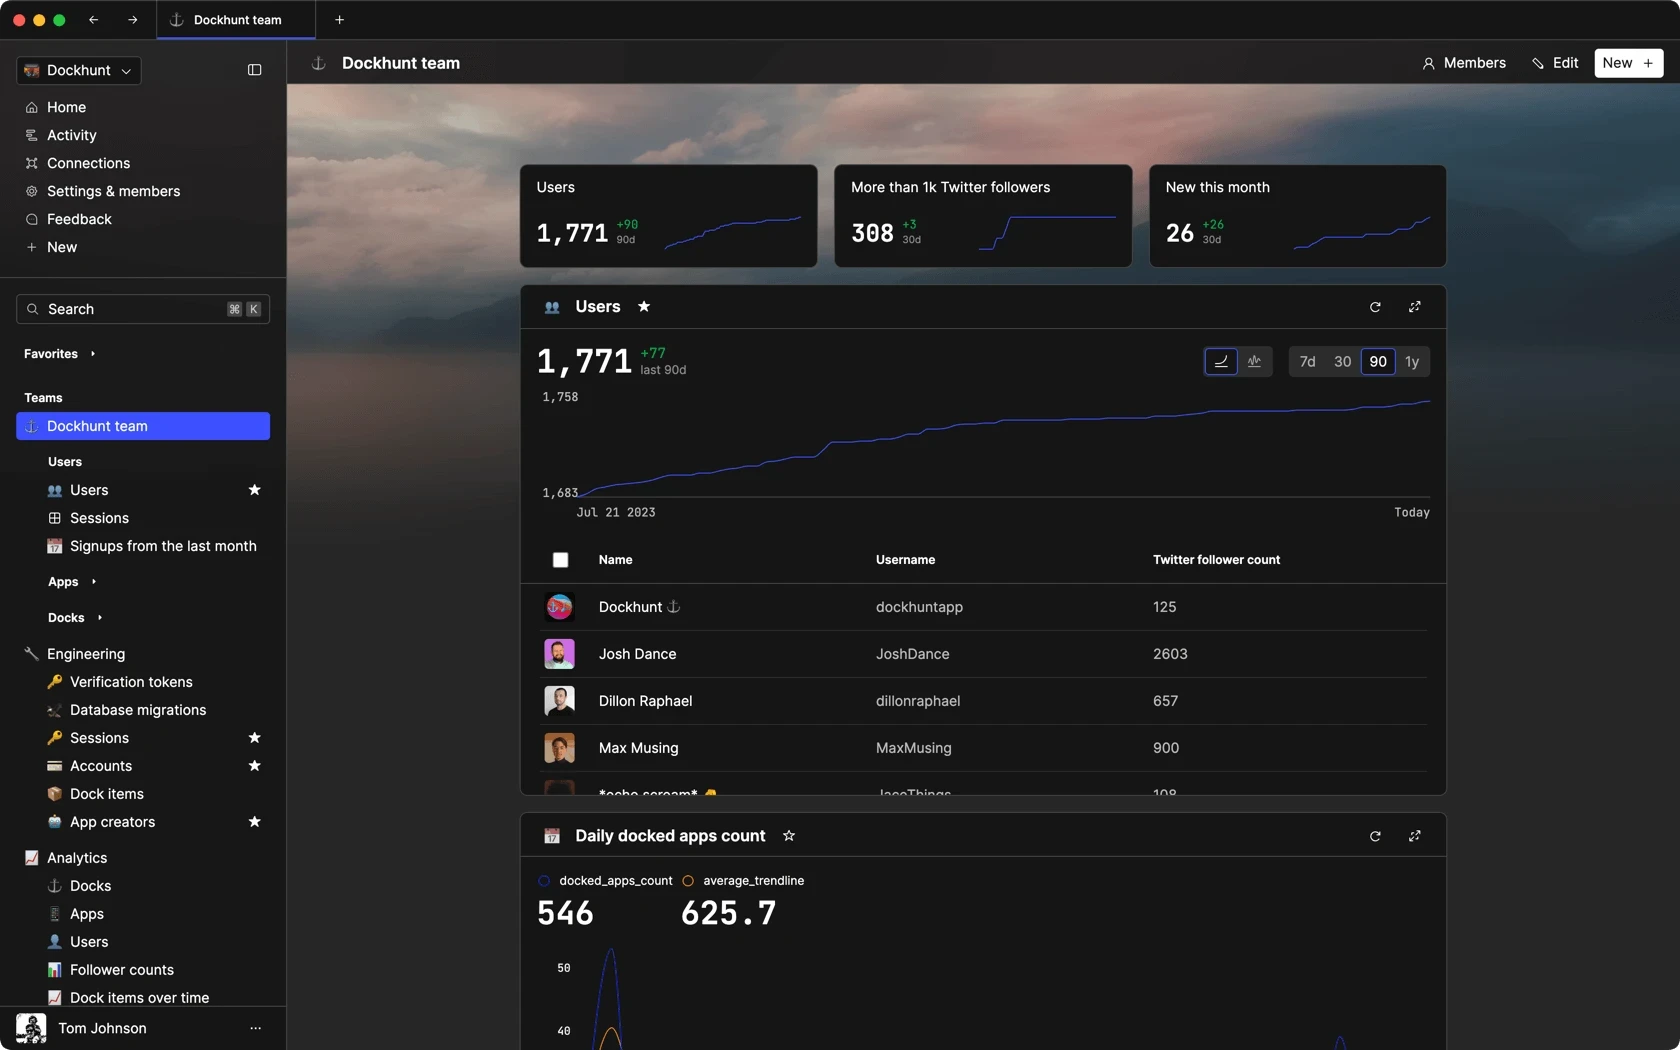
Imagine the time you'd save if you never had to build another internal tool, write a SQL report, or manage another admin panel again. Basedash is built by internal tool builders, for internal tool builders. Our mission is to change the way developers work, so you can focus on building your product.
Step 4: Restore Your Data (If You Backed It Up)
mysql -u [username] -p < backup.sql
Replace [username] with your MySQL username.
Step 5: Secure Installation
To ensure your MySQL server is secure:
sudo mysql_secure_installation
Follow the prompts to set a root password and make any other recommended security changes.
Done!
You've successfully reinstalled MySQL on your Mac. Remember to always backup your data before making significant changes, and ensure that any configurations or custom settings are documented so you can recreate them if needed. Happy querying!
TOC
October 26, 2023
Reinstalling MySQL on a Mac can be a relatively straightforward process. This guide is tailored for engineers who want to get the job done without the fluff.
Step 1: Backup Your Data
Before any significant software change, it's a good practice to backup your data.
mysqldump -u [username] -p --all-databases > backup.sql
Replace [username] with your MySQL username.
Step 2: Uninstall MySQL
a. Stop the MySQL Service
If MySQL is running, you'll want to stop it:
sudo mysql.server stop
b. Remove MySQL Packages
Remove the MySQL software:
sudo rm /usr/local/mysql
sudo rm -rf /usr/local/var/mysql
sudo rm -rf /usr/local/mysql*
c. Remove MySQL Preference Pane
If you've installed the MySQL Preference Pane, you should also remove it:
sudo rm -rf /Library/PreferencePanes/My*
d. Clean Up
Clean up any lingering items:
sudo rm -rf /Library/StartupItems/MySQLCOM
sudo rm -rf /Library/Receipts/mysql*
sudo rm -rf /Library/Receipts/MySQL*
sudo rm -rf /private/var/db/receipts/*mysql*
Step 3: Reinstall MySQL
a. Download MySQL
Visit the official MySQL website and download the version for macOS: MySQL Downloads
b. Install MySQL
Open the downloaded .dmg file and follow the installation instructions. Generally, it's a matter of dragging and dropping the MySQL icon into your Applications folder.
c. Set Up PATH (If Required)
To make sure you can run MySQL commands from the terminal without specifying the full path, add this to your .bash_profile, .bashrc, or .zshrc (depending on your shell):
export PATH=${PATH}:/usr/local/mysql/bin
Then, load your updated profile:
source ~/.bash_profile # or ~/.bashrc or ~/.zshrc
You could ship faster.
Imagine the time you'd save if you never had to build another internal tool, write a SQL report, or manage another admin panel again. Basedash is built by internal tool builders, for internal tool builders. Our mission is to change the way developers work, so you can focus on building your product.
Step 4: Restore Your Data (If You Backed It Up)
mysql -u [username] -p < backup.sql
Replace [username] with your MySQL username.
Step 5: Secure Installation
To ensure your MySQL server is secure:
sudo mysql_secure_installation
Follow the prompts to set a root password and make any other recommended security changes.
Done!
You've successfully reinstalled MySQL on your Mac. Remember to always backup your data before making significant changes, and ensure that any configurations or custom settings are documented so you can recreate them if needed. Happy querying!
What is Basedash?
What is Basedash?
What is Basedash?
Basedash is the best MySQL admin panel
Basedash is the best MySQL admin panel
Basedash is the best MySQL admin panel
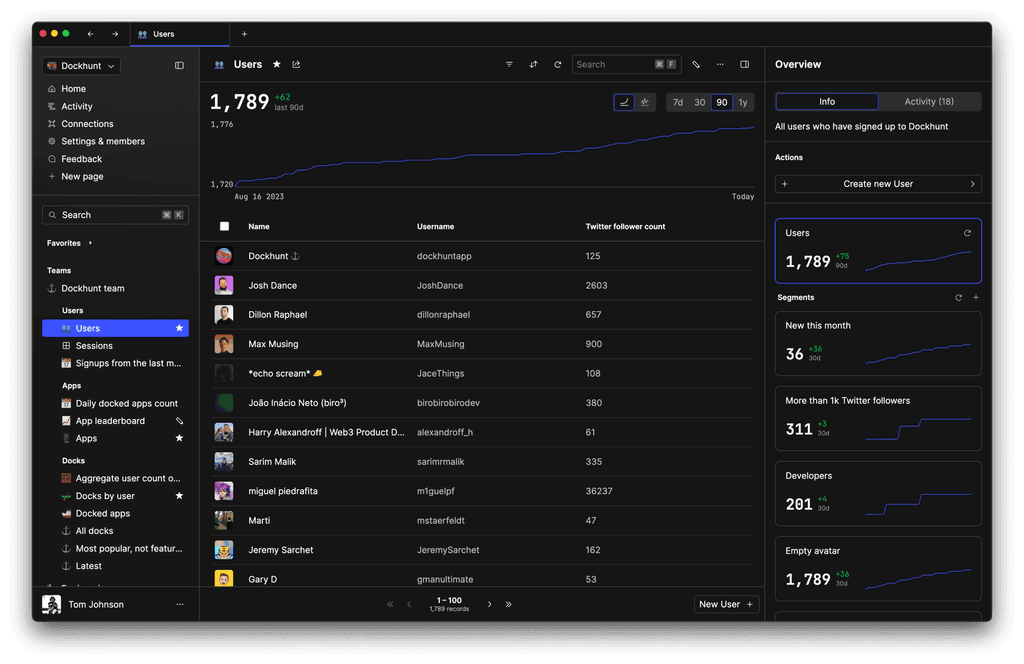
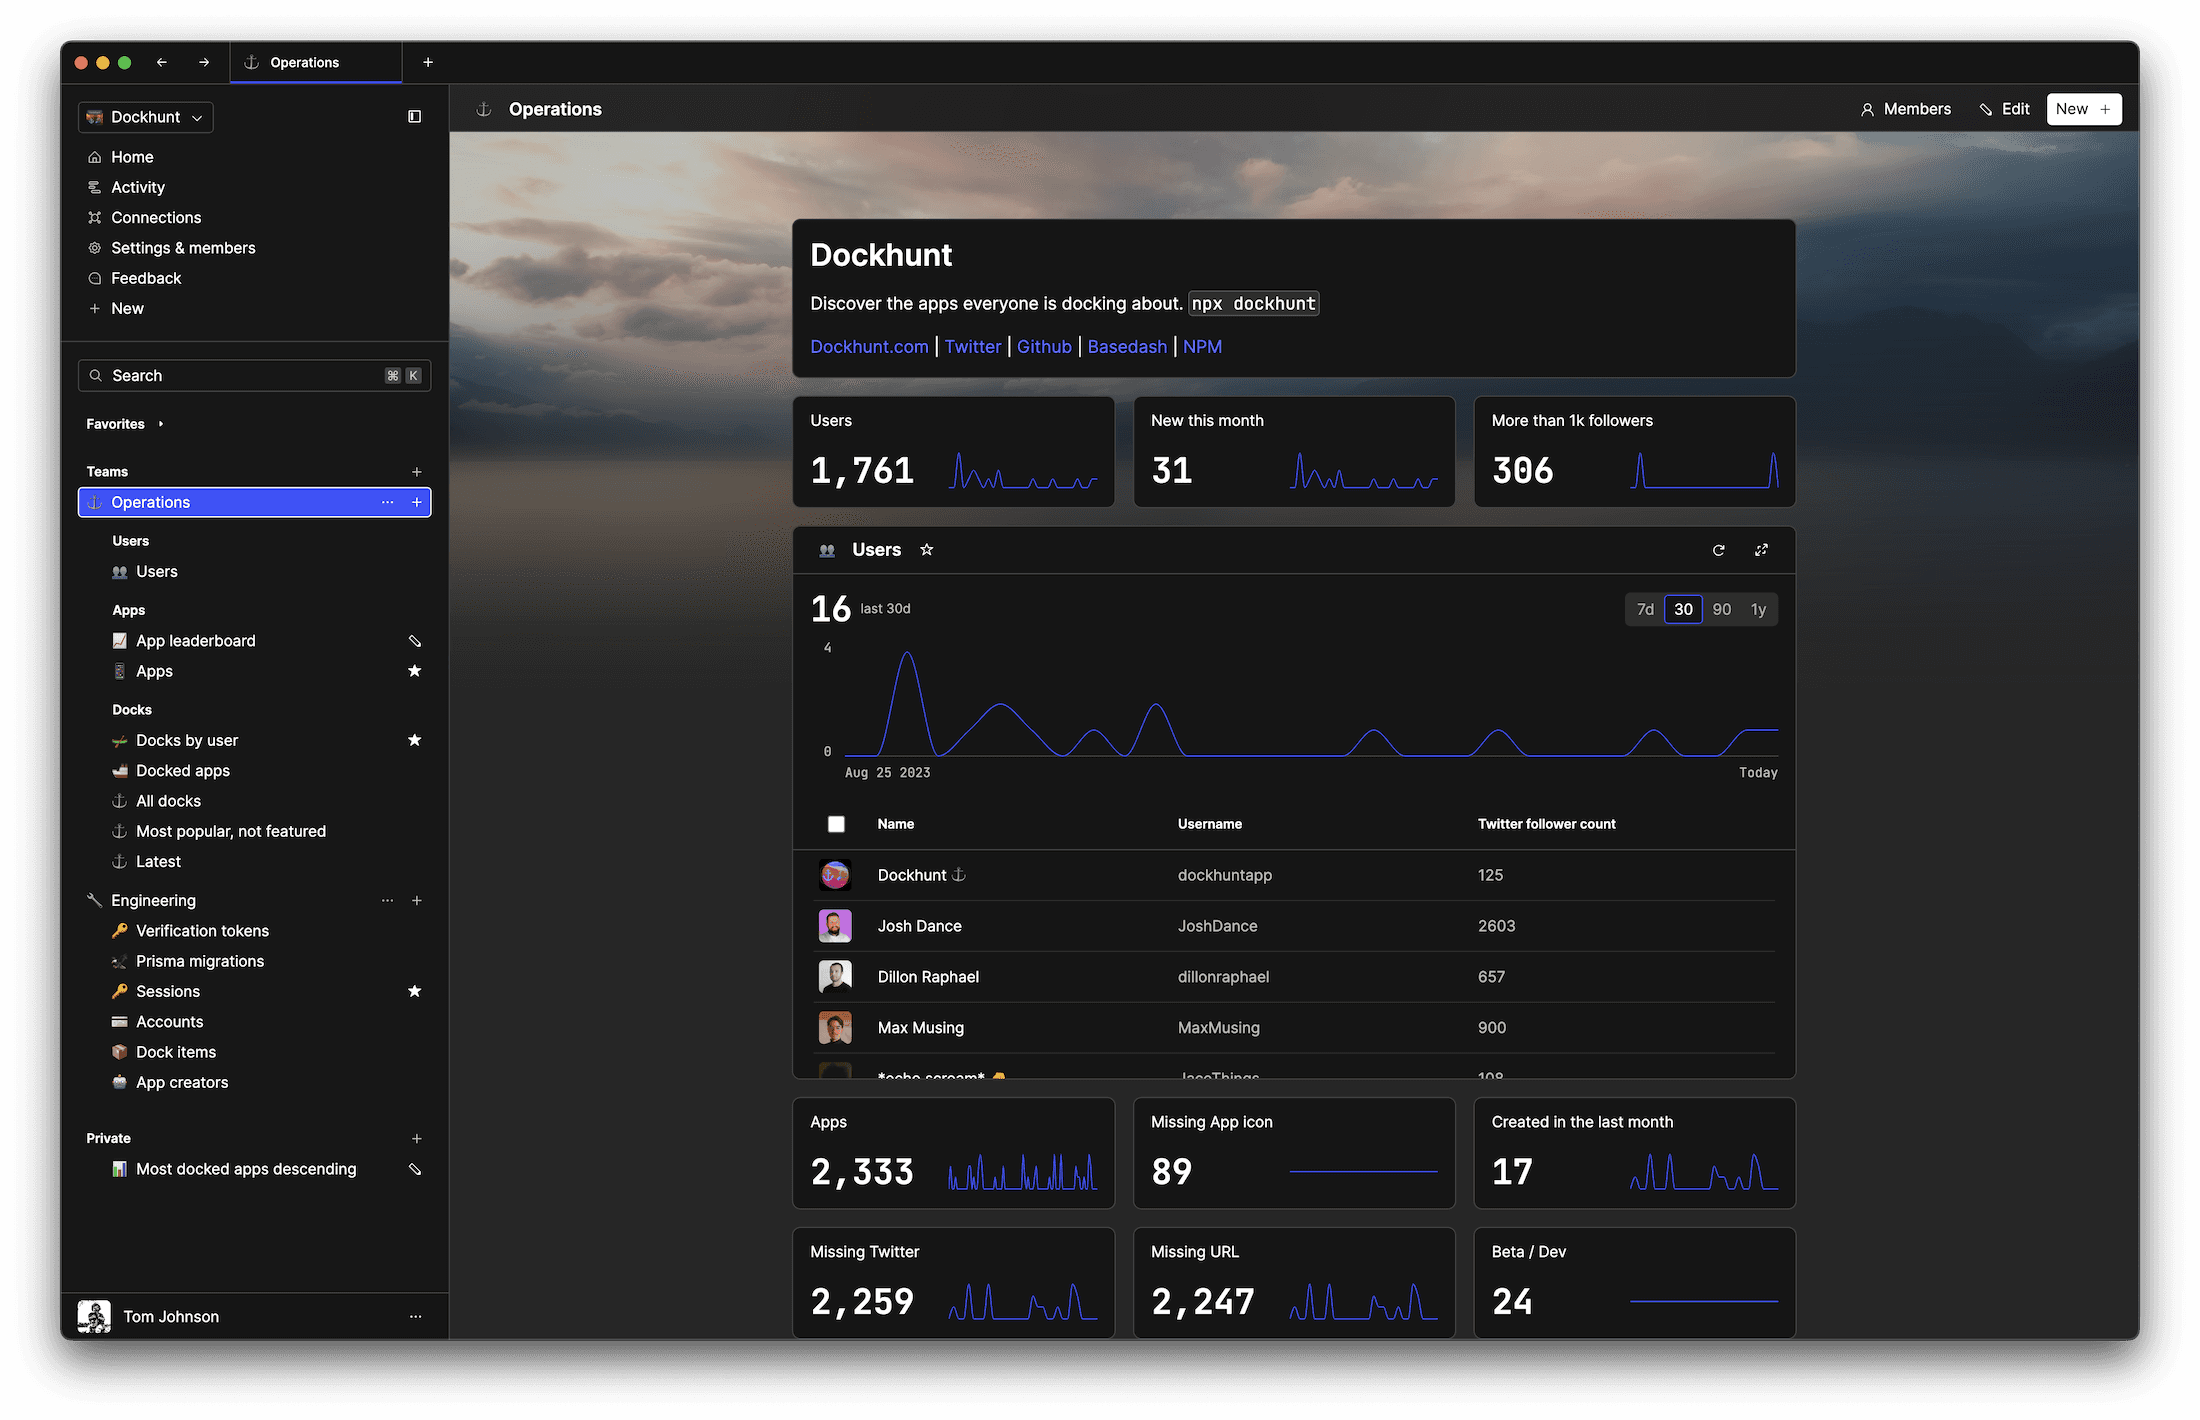
If you're building with MySQL, you need Basedash. It gives you an instantly generated admin panel to understand, query, build dashboards, edit, and share access to your data.
If you're building with MySQL, you need Basedash. It gives you an instantly generated admin panel to understand, query, build dashboards, edit, and share access to your data.
If you're building with MySQL, you need Basedash. It gives you an instantly generated admin panel to understand, query, build dashboards, edit, and share access to your data.
Dashboards and charts
Edit data, create records, oversee how your product is running without the need to build or manage custom software.
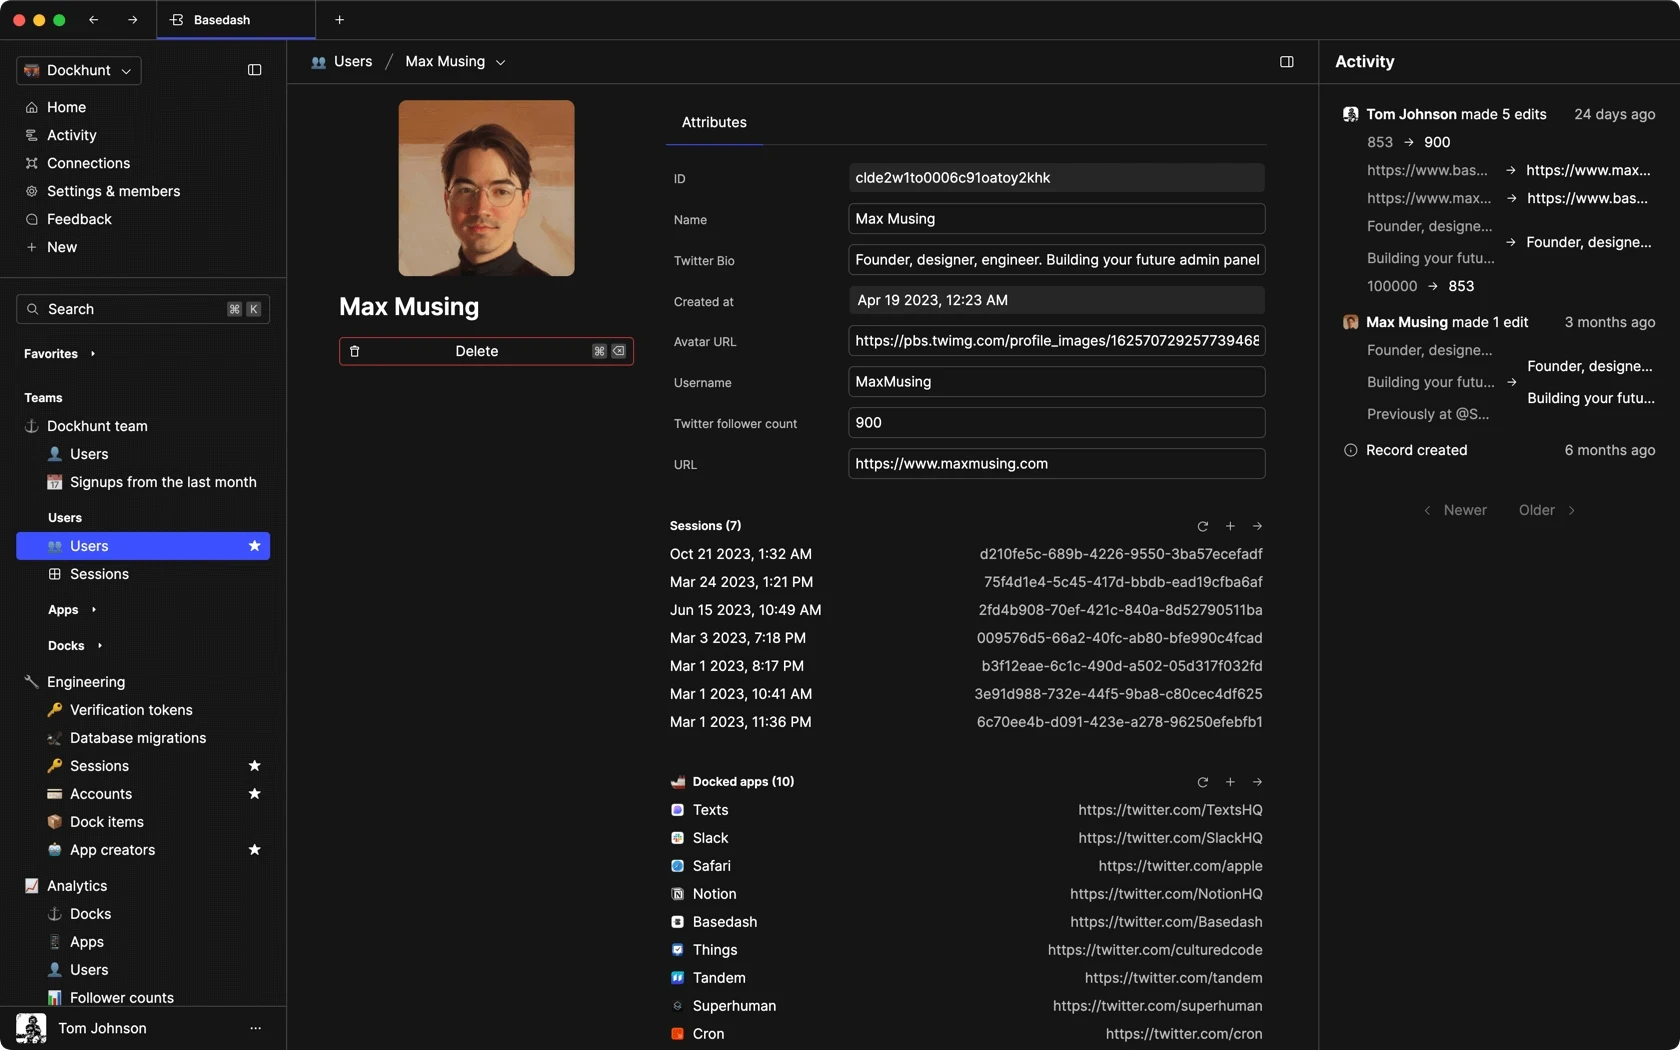
USER CRM
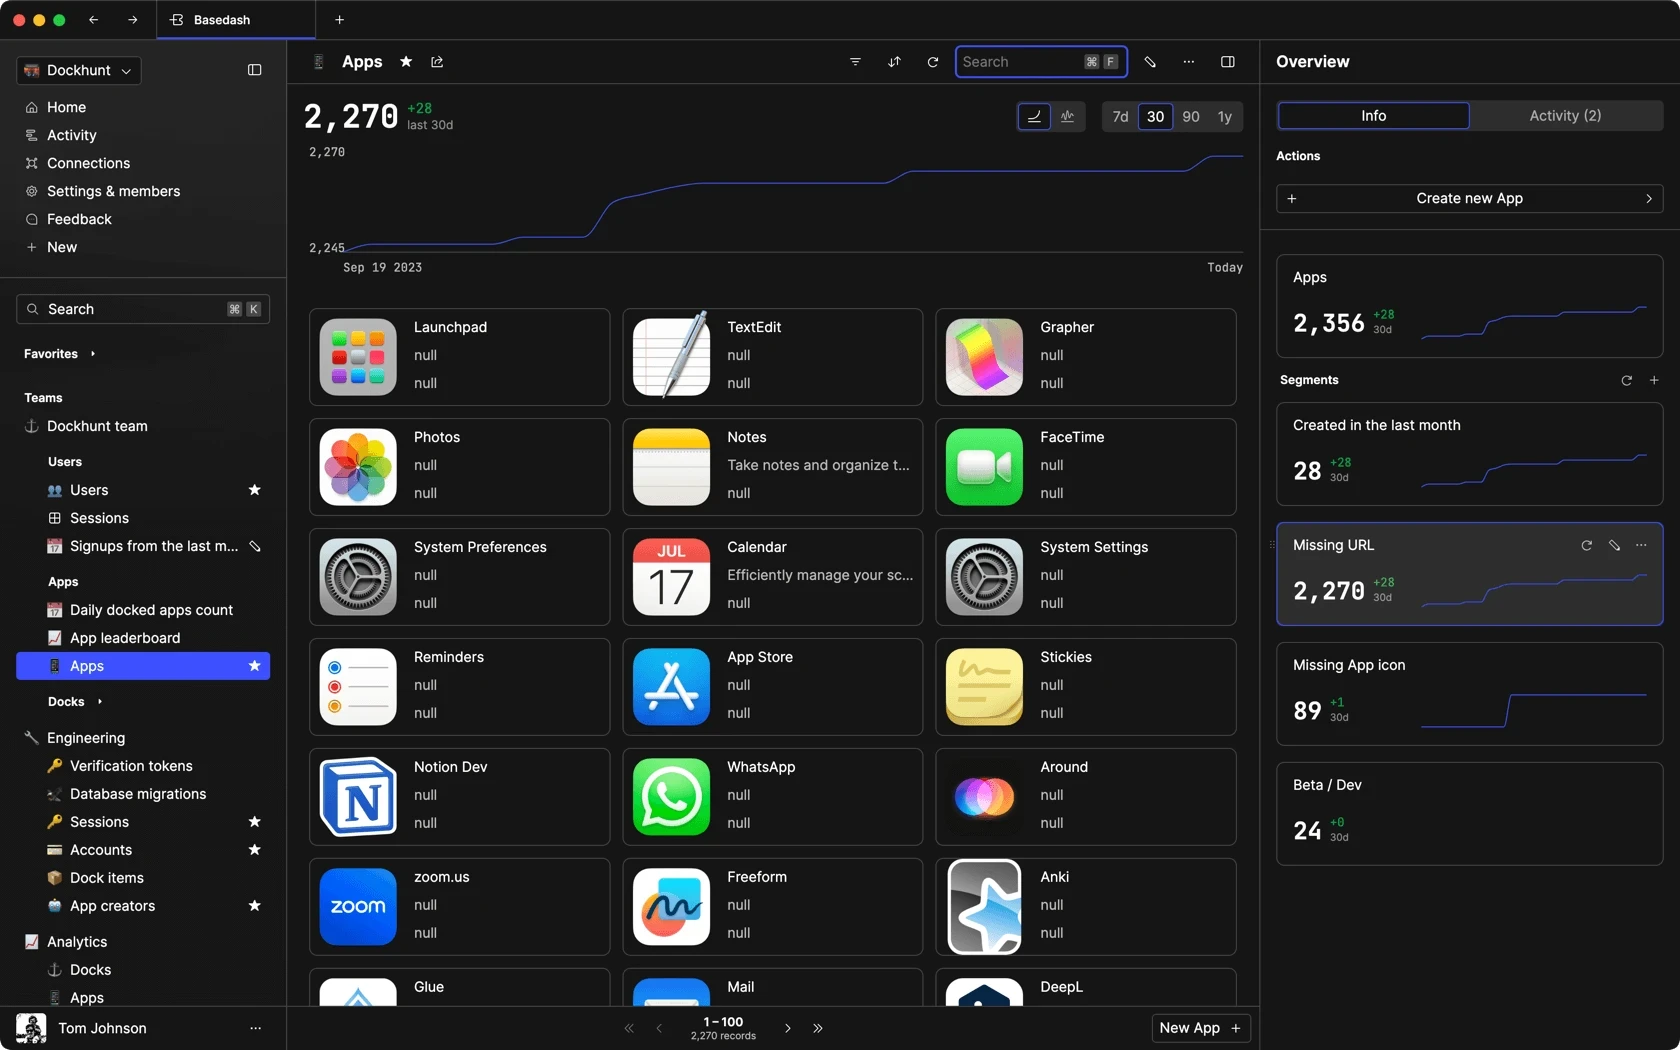
ADMIN PANEL
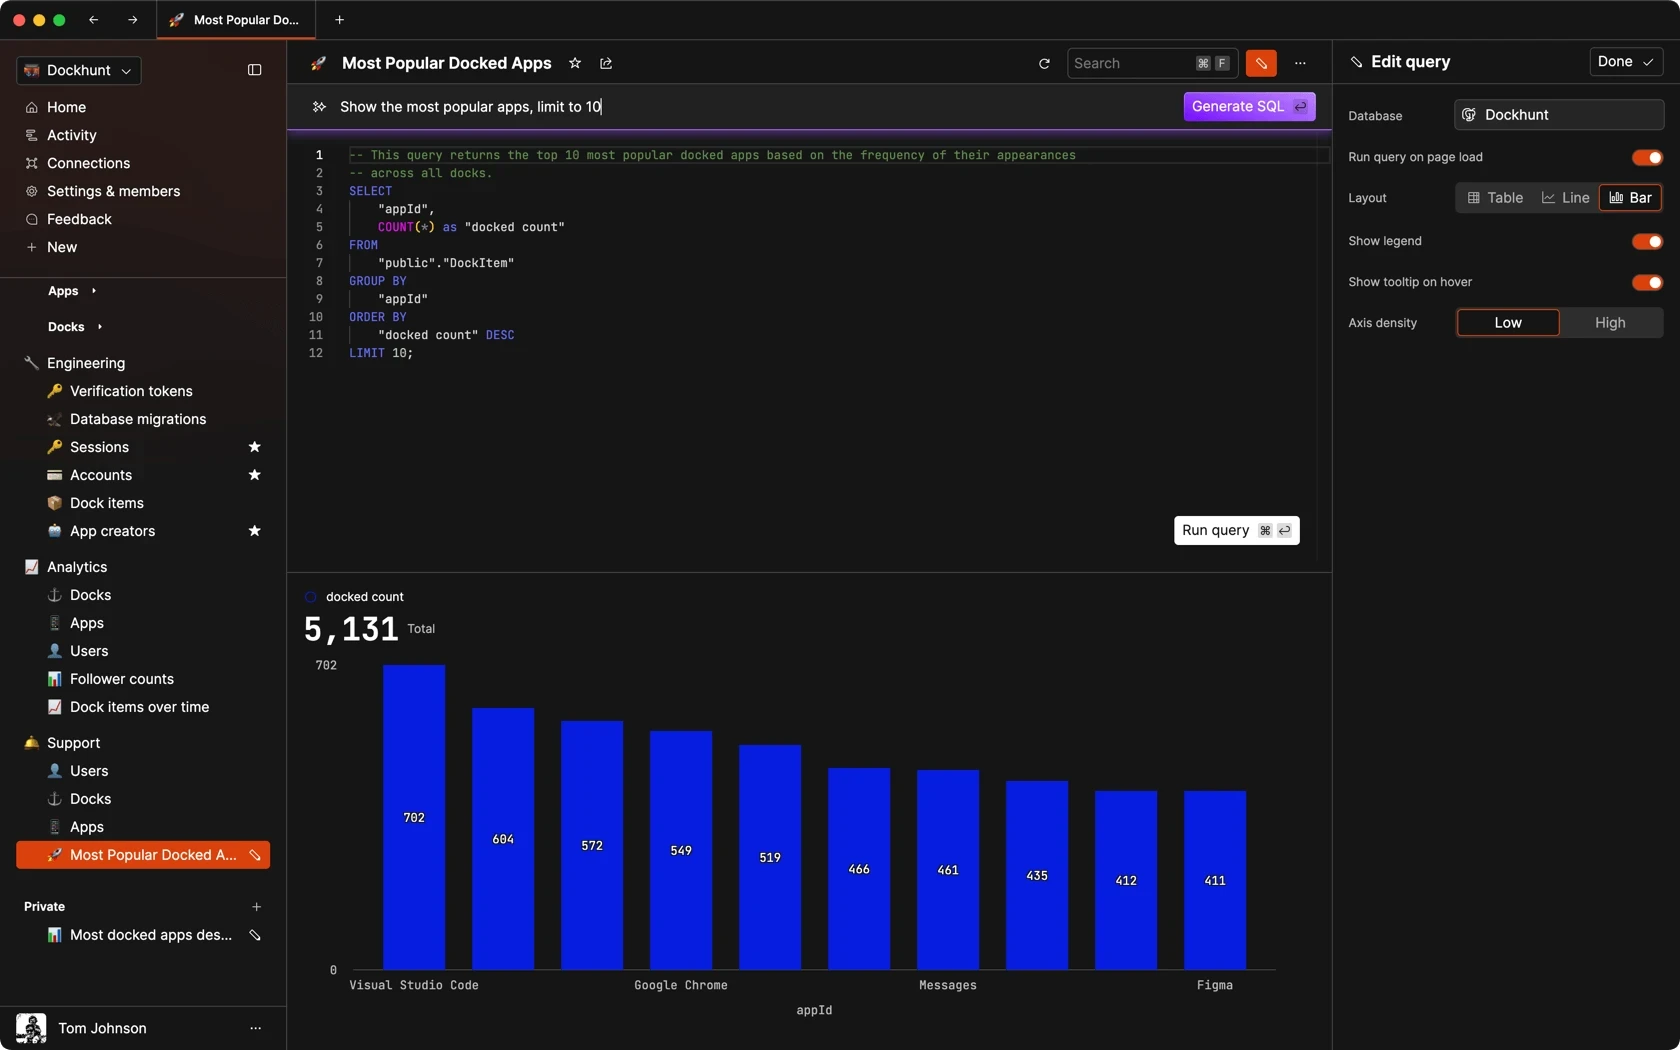
SQL COMPOSER WITH AI
Related posts
Related posts
Related posts

How to Add Columns to MySQL Tables with ALTER TABLE
Robert Cooper

How to Add Columns to Your MySQL Table
Max Musing

Pivot Tables in MySQL
Robert Cooper
How to Rename a Table in MySQL
Max Musing

How to Optimize MySQL Tables for Better Performance
Robert Cooper

How to Display MySQL Table Schema: A Guide
Jeremy Sarchet